I grew up doing construction work with my dad, and my first “real” job was at a hardware store, so I’ve spent my life assuming everyone knows what a hollow wall anchor is. But after seeing handrails, anti-tip brackets, towel bars, TP holders, shelves, and countless other items improperly fasted to walls, I’m concerned for the future of humanity.
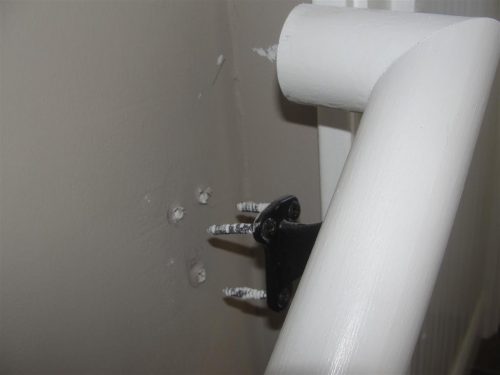
If you want to mount anything to a wall, even a picture, do not simply use a screw. The holding strength of a screw in drywall is very close to nothing. Anyone can easily tear a screw out of drywall with just their bare fingers. If you need to mount something to a wall, you either need to hit a stud or you need to use a hollow wall anchor. Today I’ll cover both.
Hollow wall anchors
These devices let you hang stuff from walls and give way more holding power than a simple screw. There are oodles and oodles of designs, but the most common type is a plastic ribbed sleeve. Here’s a small variety of this one type:
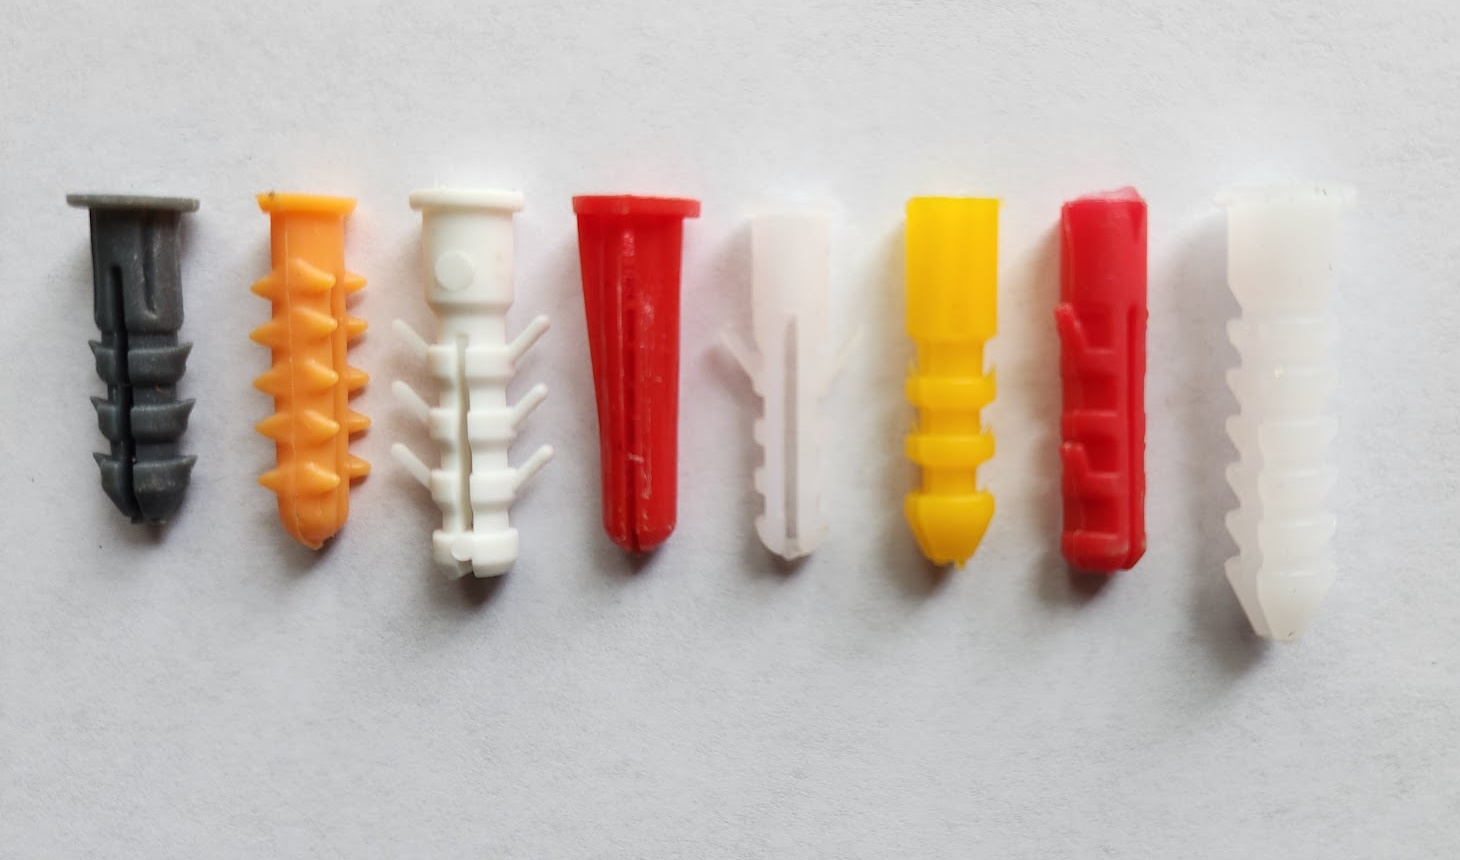
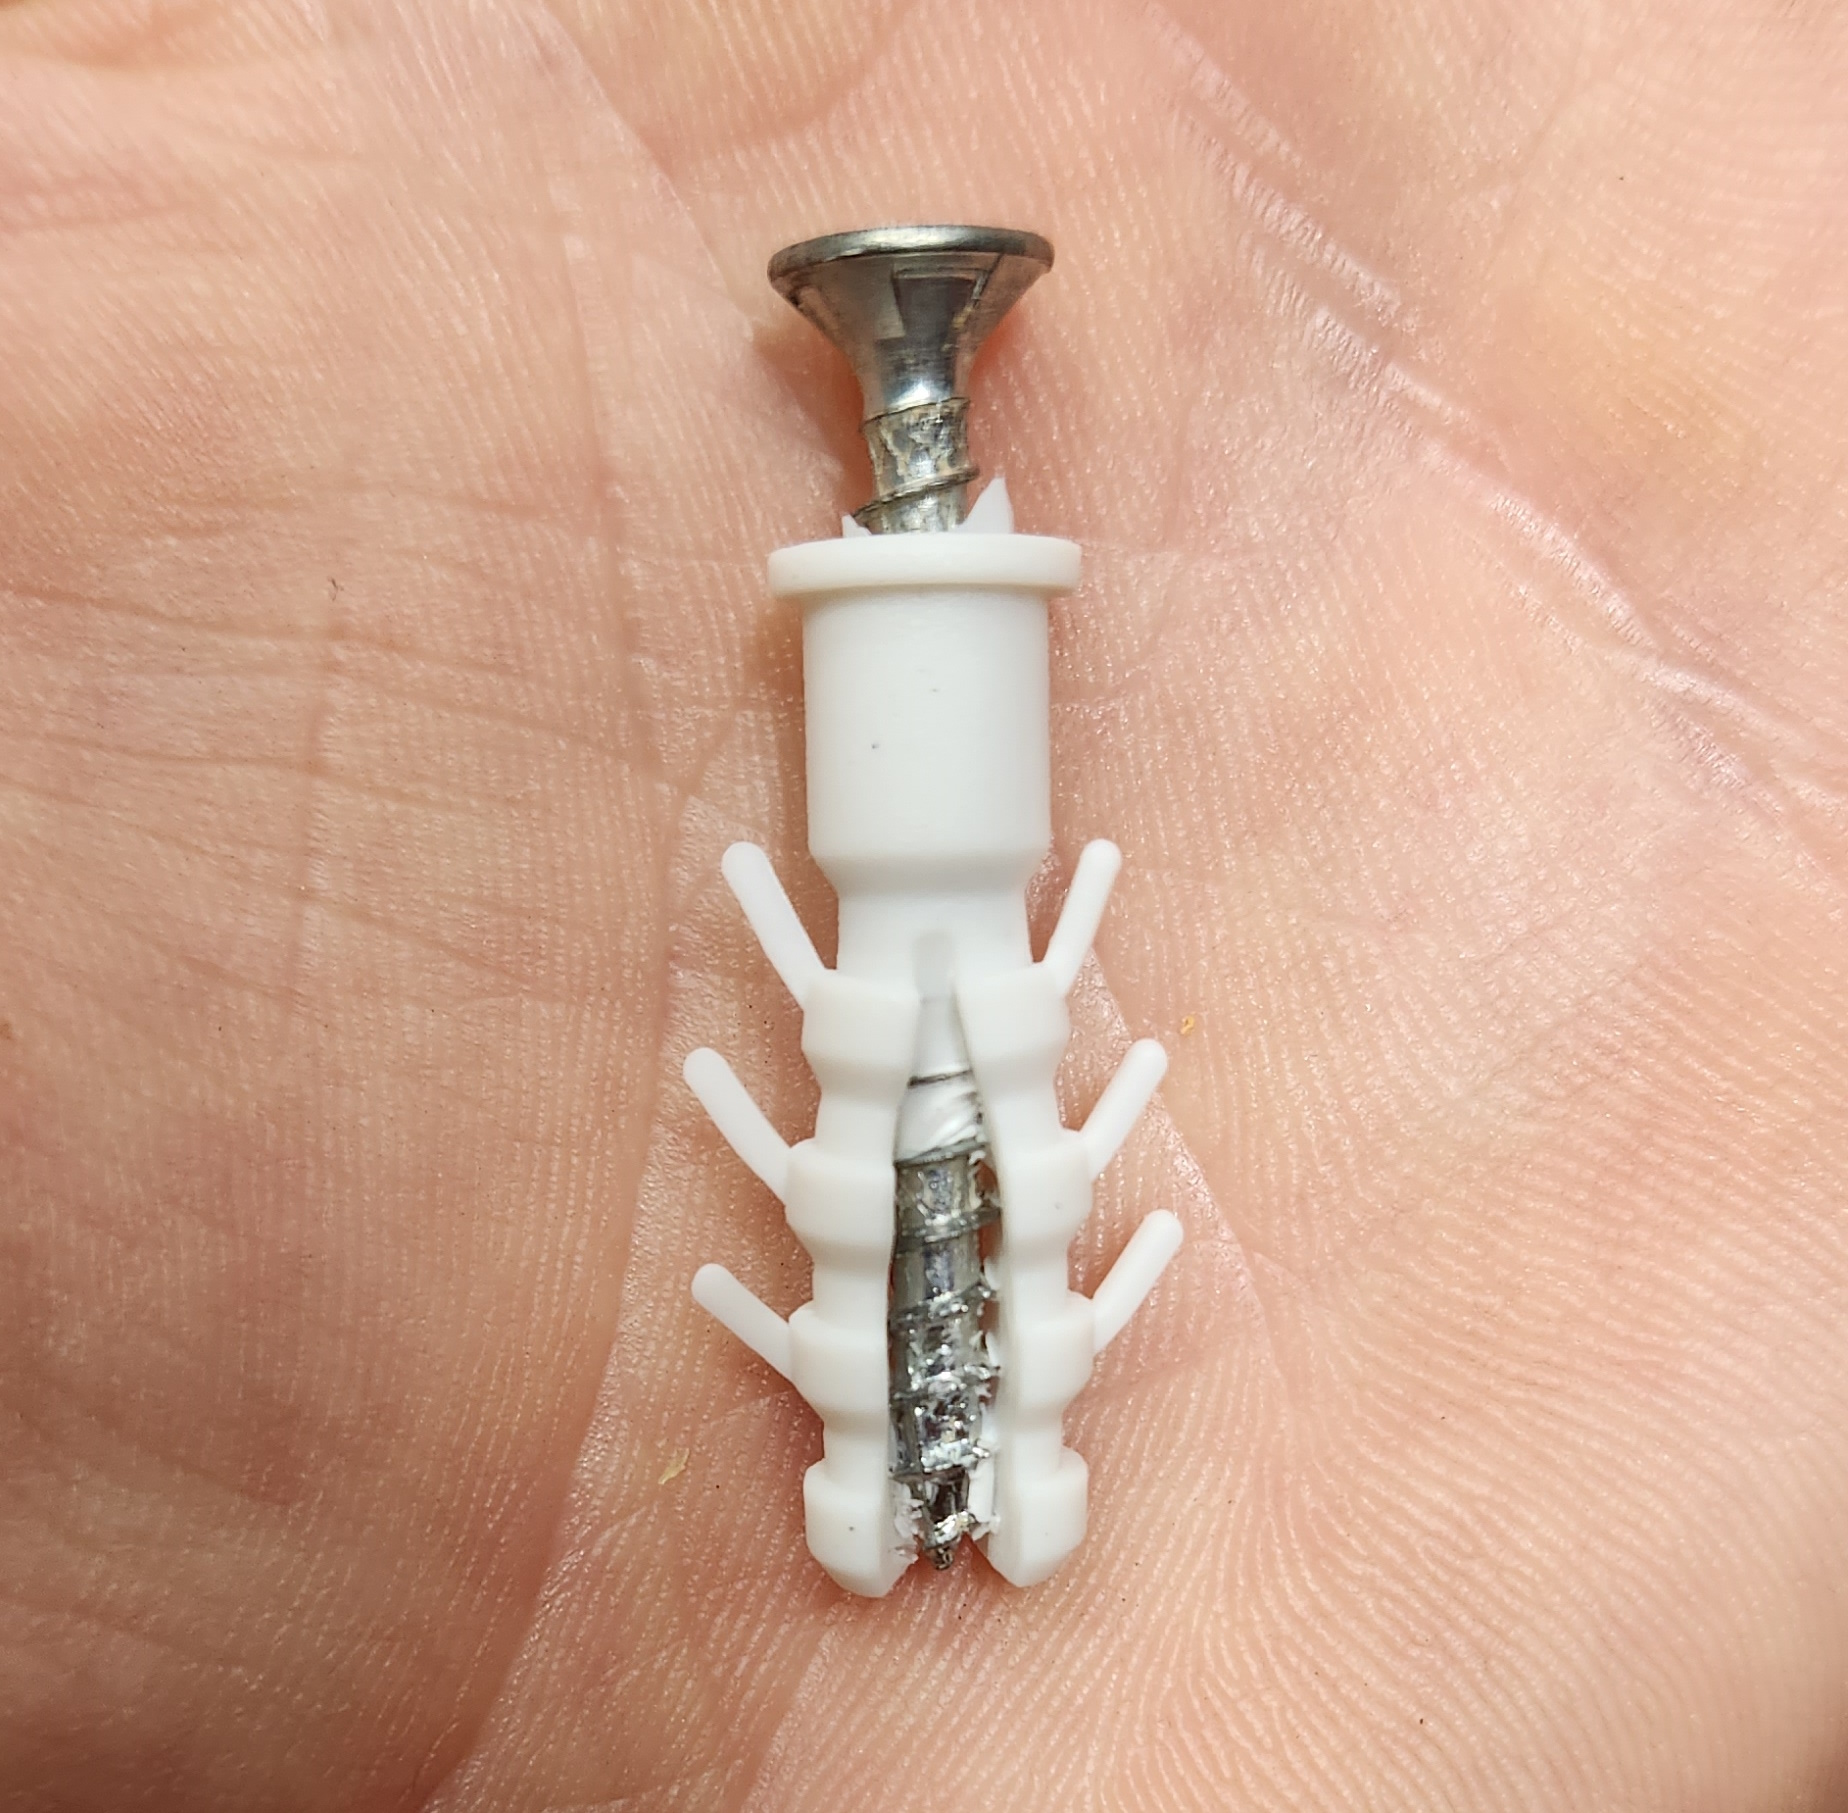
To use these, you drill a pilot hole into the wall, tap the sleeve into place, and then you put your screw into the sleeve.
My favorite is the Twist-N-Lock anchor style, which doesn’t require pre-drilling. You just screw the anchor right into the drywall, then put your screw into the anchor.
The Family Handyman did a nice comparison of hollow wall anchors, contrasting stated strengths against tested strengths.
Use studs for heavy-duty hanging
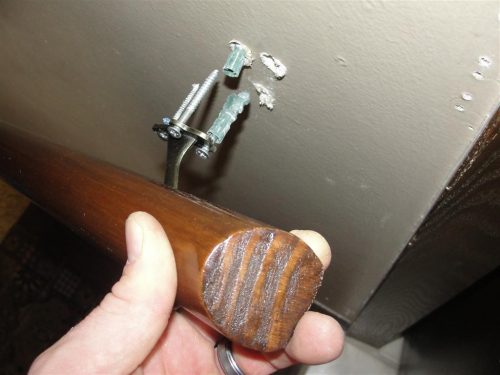
You definitely want to hit a stud for heavy-duty loads like a TV bracket, a handrail, or a grab bar. Hollow wall anchors won’t cut it.
And for that, you first need to find the studs.
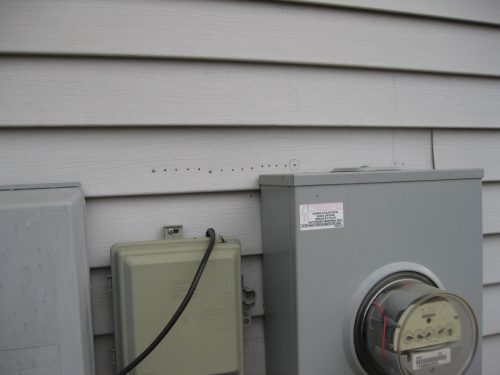
If you don’t have any stud-finding tools, you can still find studs by knocking on the wall. You’ll hear a different tone when you get close to a stud. Look for an outlet or switch box on a wall as a starting point. These boxes are almost always attached to a stud, so you’ll have a stud just to the left or right of one of these boxes. Do some knocking to determine which side of the box your stud is on. Once you’ve found the first stud, the rest are usually easy because studs are typically located every 16″ on center, and they’re 1-1/2″ wide. Just measure out from the first one.
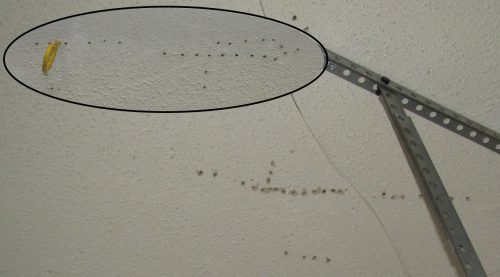
Before you get super-confident about hanging stuff from a potential stud, start by putting a small screw or nail into the wall to verify you’ve found a stud. You’ll hit it on your first try if you’re good at this. If you’re not so good, your wall might look like this by the time you find it:
Or this:
But my preference is definitely to use a stud finder. You can find electronic stud finders for as little as $10, but I actually prefer the StudBuddy. It’s basically just a magnet, and you can get a pair for under $20… ok, this sounds ridiculous once I type it out, but stay with me. Electronic stud finders need batteries, and even once you’ve found the stud, you need to mark your wall. With the StudBuddy, you wave the magnet around on your wall until it hits a nail or screw used to fasten the drywall in place. From there, the magnet will hold itself onto the wall, showing you exactly where the stud is located. Check out my video at the beginning of this post for a nice action demonstration.