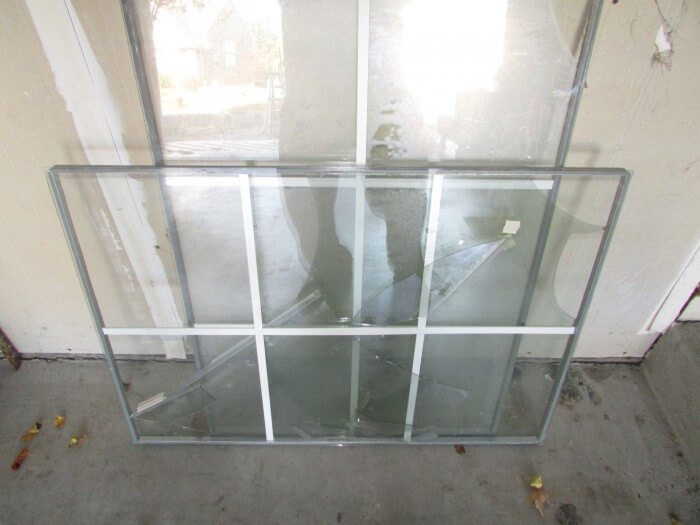
In last week's blog post, I showed some examples of insulated glass units with failed seals and explained the difference between a failed seal and fogged glass. In short, a failed seal eventually leads to fogged glass, but will not be immediately noticeable. As I mentioned last week, I had a bunch of windows with failed seals at my home, so I hired A Pane in the Glass Construction to come repair my windows. I found them on Angie's List. While one option for repair would be to replace each window that had failed glass with a new one, it would also be the most expensive option.
A less expensive option would be to have just the window sashes replaced. When window seals are covered under a manufacturers warranty, it typically just takes a phone call to the manufacturer with some serial numbers from the window, and they'll make up replacement sashes. Replacing a sash on a newer double-hung window is usually quite simple, and can be done without any tools. Unfortunately, my windows had no such warranty. I opted to have just the insulated glass units replaced, frankly because I don't think there would be any big benefit from having a bunch of the windows entirely replaced, and the cost to replace just the insulated glass was far less.
The guys who replaced my glass units said it would be fine to share photos of the entire process for anyone who is curious, so here goes. To start, I had someone stop by my house to take measurements of all the insulated glass units that were fogged. He made note of which windows were fogged, if the glass had grids or not, and partially disassembled the windows to make sure he was getting exact measurements of each insulated glass unit.
They used these measurements to order new, custom insulated glass units from a local manufacturer. The glass was ready in about two weeks.
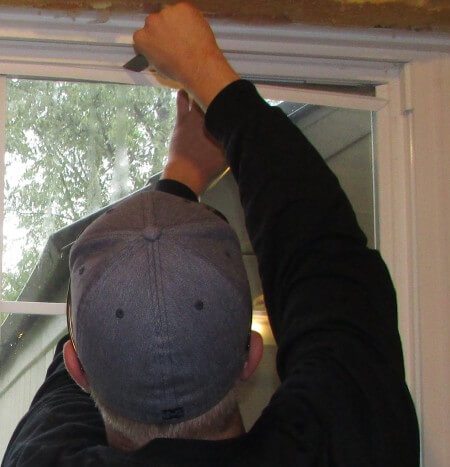
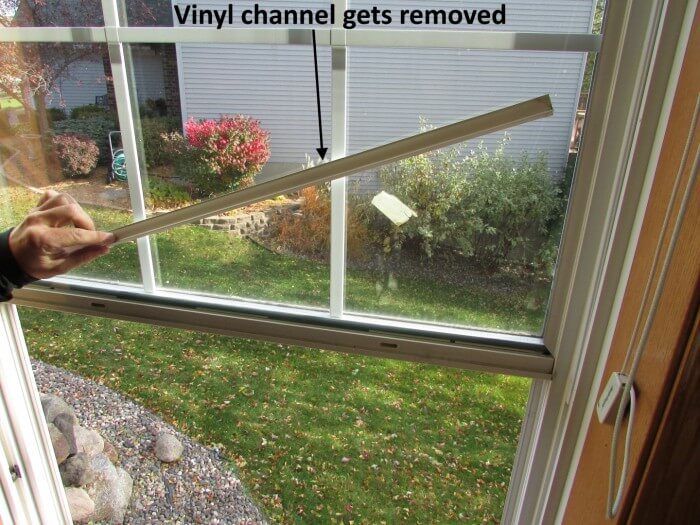
To replace the glass, the first step was to remove the vinyl trim pieces around the perimeter of the glass.
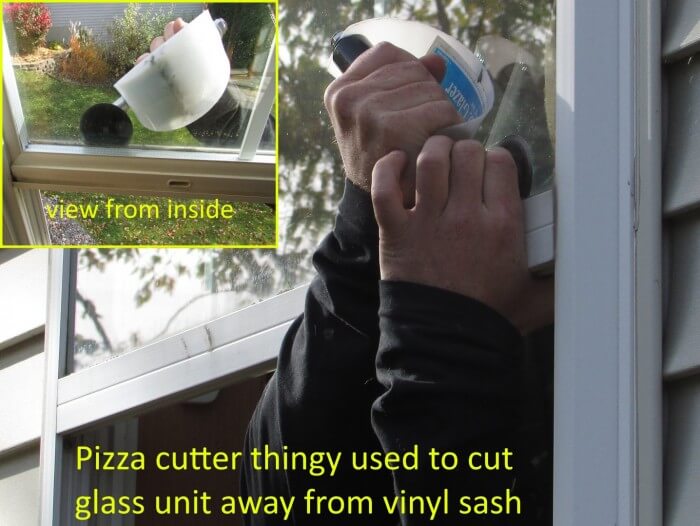
The next step was to use a pizza-cutter-looking tool called an E.Z.D. Glazer to cut through the adhesive at the exterior, which held the glass to the vinyl sash.
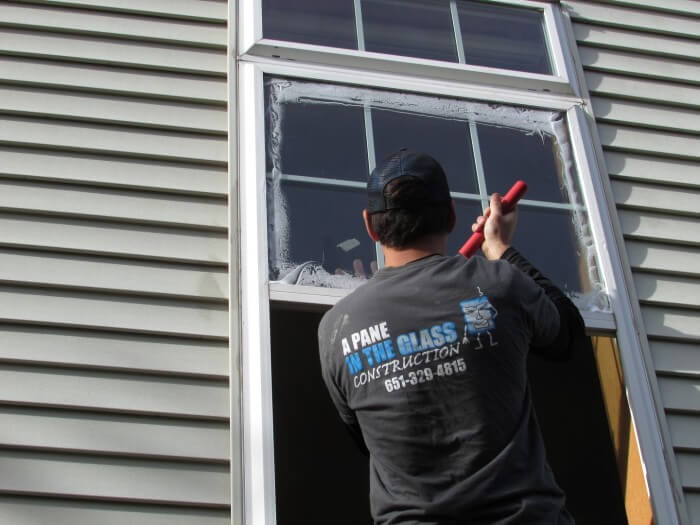
This particular unit was especially difficult to take apart, so they had to use a spatula-looking-device that I didn't get the name of, along with window cleaner at the exterior to really help loosen the glass and get in the corners.
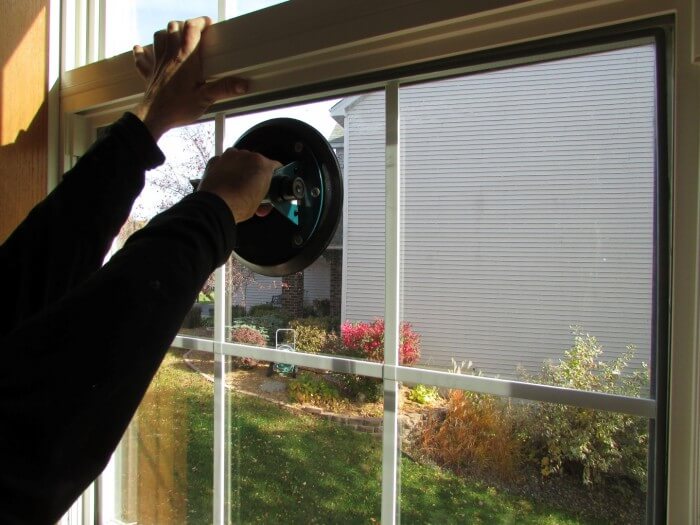
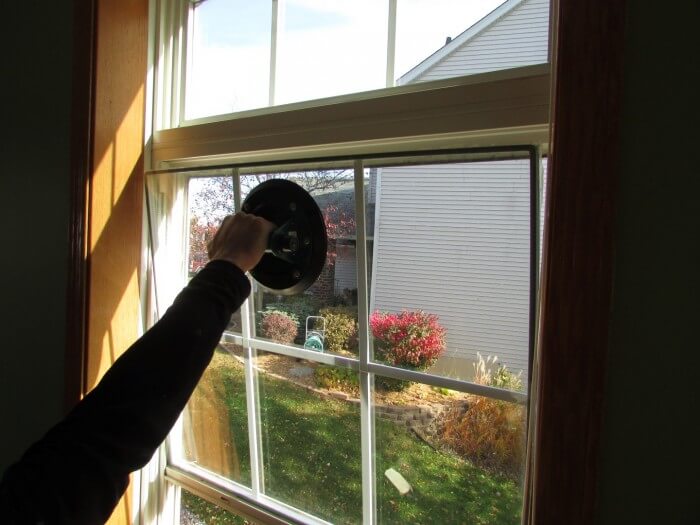
Once the glass was loose enough, they used a glass suction cup to pull the glass unit out of the frame.
This one came out in one piece, but they weren't so lucky with several other windows.
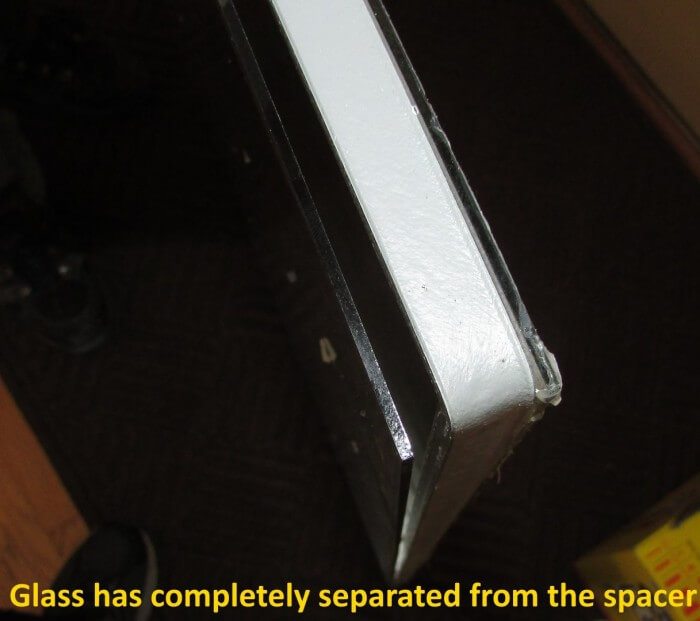
This particular unit had a very bad seal; the individual pieces of glass weren't even attached to the spacer in some places. Check it out.
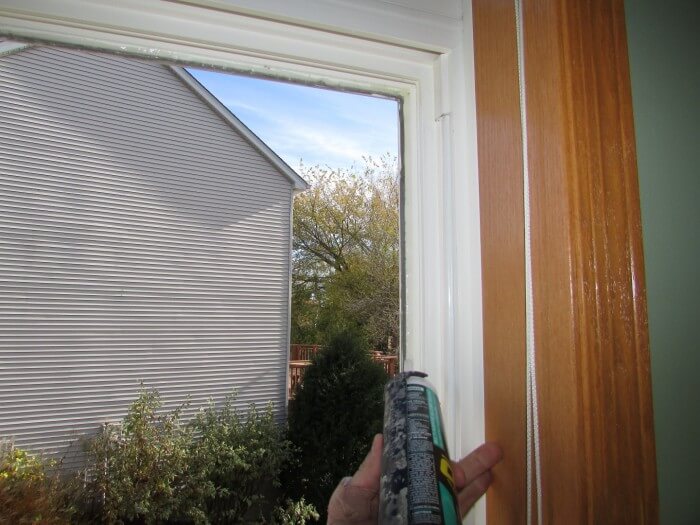
Once the glass unit was removed, replacement was about what you might expect. They cleaned the vinyl frame, applied a bead of silicone caulk to the perimeter of the frame, and then placed the new glass into the opening.
Once the new glass unit was put into place, the vinyl trim pieces were replaced and the glass was thoroughly cleaned. That's about it. I can see clearly through all of my windows now, and I'm glad I had this work done. Oh, and the guys who did the work were great.
The cost to replace the glass was about $150 per unit, and as I said earlier, I had a lot of units that needed replacement. If I had only had one or two glass units to replace, the cost for each unit would have probably been about twice as much, because the company doing the work would need to make the project worth their time.

